Spindle Repair Procedure|Professional and Precise Restoration Steps
The spindle is the core component of any machine tool, directly affecting machining accuracy and production efficiency. When a spindle shows symptoms such as abnormal vibration, excessive heat, or unusual noise, a structured spindle repair process is necessary. Below is a standard procedure for high-precision spindle repair, accompanied by step-by-step illustrations (refer to Fig. 1–6).
1. Pre-Inspection & Testing|Assessing Spindle Condition
Before disassembly, the spindle undergoes various functional tests to determine its operating condition. This includes runout inspection, axial/radial vibration analysis, and motor coil resistance and insulation tests. As shown in Fig. 1, these diagnostic tools help identify internal issues that may require mechanical repair.

Fig. 1 Spindle Drawbar Force Testing
2. Spindle Disassembly|Internal Damage Assessment
After diagnostics, the spindle is disassembled to inspect internal parts. Key focus areas include the bearing, oil seals, drawbar mechanism, and coolant system. Any visual wear, scoring, or deformation is recorded for further action. See Fig. 2 for reference.
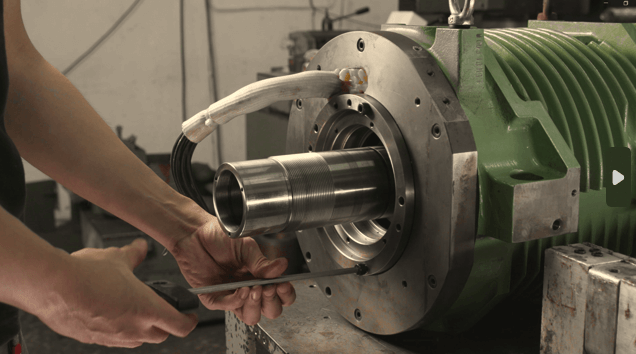
Fig. 2 Spindle Disassembly Process
3. Replacement & Refurbishment of Components|Damaged Parts Handling
Depending on the inspection outcome, damaged components are either replaced or refurbished. Common replacements include precision bearings, oil seals, couplings, and tool clamping systems. All spare parts must meet original specifications to restore spindle performance. Refer to Fig. 3 for part details.
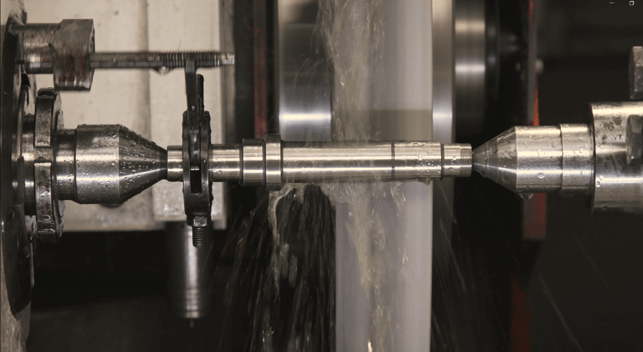
Fig. 3 Spindle Shaft Grinding and Refurbishment
4. Component Cleaning|Ensure Assembly Cleanliness
Before reassembly, all spindle components are carefully cleaned to remove oil residue, fine particles, and contaminants. This is essential to prevent friction, vibration, or imbalance during high-speed operation. As illustrated in Fig. 4, surface cleanliness is key to spindle lifespan.
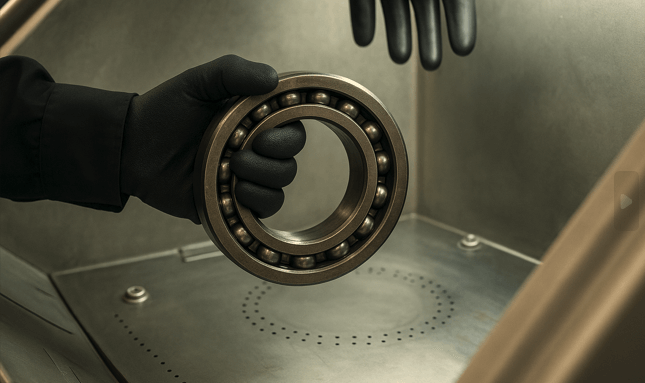
Fig. 4 Bearing Cleaning
5. Spindle Reassembly|Precision Alignment
The spindle is reassembled with strict precision requirements, including preload adjustment, clearance settings, and torque specifications. Proper alignment and interference fit are verified during each step using custom fixtures and gauges. Fig. 5 shows the standard reassembly configuration.
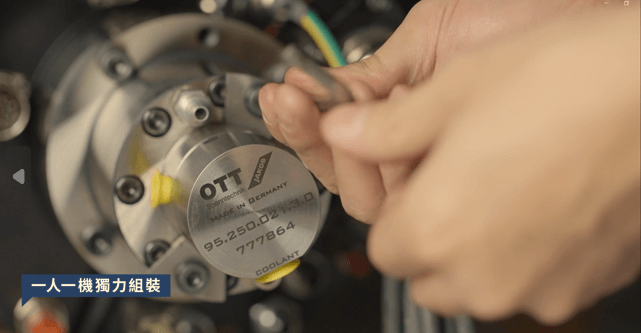
Fig. 5 Spindle Assembly Process
6. Run-In Testing & Final Verification|Post-Repair Performance Check
Once assembled, the spindle undergoes a full-speed run-in test to evaluate vibration levels, temperature rise, acoustic stability, and rotational accuracy. This ensures the repaired spindle meets ISO standards. See Fig. 6 for the test setup.
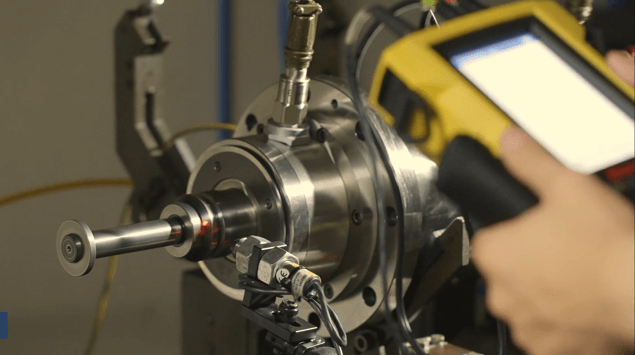
Fig. 6 Spindle Run-In Test
Precision spindle repair is more than part replacement—it’s a controlled, high-tech process that demands experience and accuracy.
Each step—from diagnostics to final testing—plays a critical role in restoring the spindle to peak condition. Contact us to learn more about our spindle repair services or to request a tailored repair plan for your equipment.